


Introduction
Welcome to the dynamic world of Klaviyo! If you’ve been dreaming of taking your email marketing game to stellar heights, you’re in the right place. Klaviyo is designed to be powerful yet user-friendly, making it the go-to platform for e-commerce juggernauts and ambitious startups alike. Ready to power up? Here’s your step-by-step guide to getting started with Klaviyo.
Step 1: Sign Up for an Account
First things first—let’s get you on board. Head over to Klaviyo’s website and hit the “Sign Up” button. Fill out the essential details, confirm your email, and create a strong password. Consider this your boarding pass to a world of data-driven marketing.

Step 2: Integrate with Your E-commerce Platform & Import Contacts
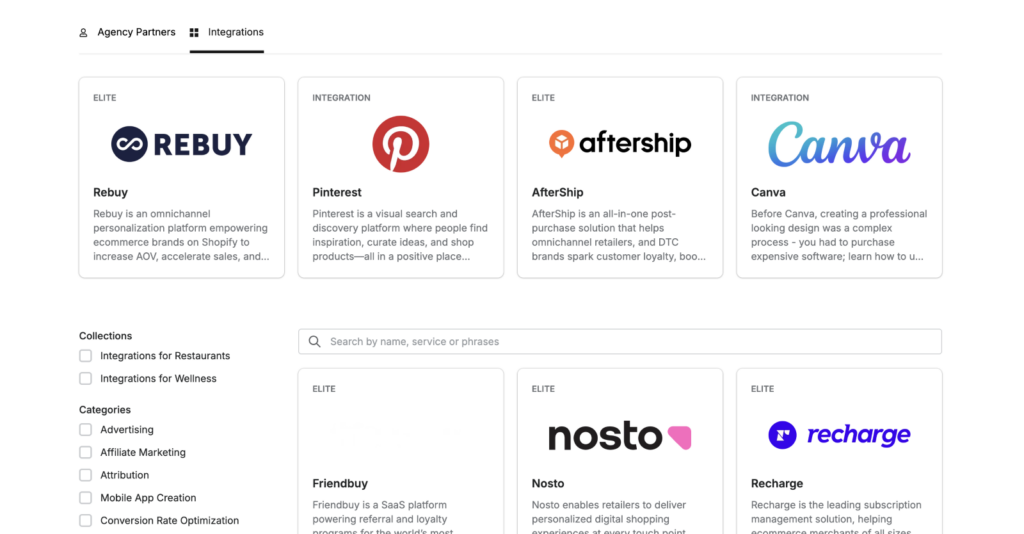
Klaviyo plays nice with all the big names—Shopify, BigCommerce, Woo, you name it. Navigate to the “Integration” section in your Klaviyo dashboard and select your platform. Follow the prompts to connect your store and sync up your customer data.
Depending on your e-commerce platform, you will be prompted to install the Klaviyo app on your store. We highly recommend this as it will open up email retargeting opportunities on browser abandonment and more.
Once your e-commerce store is connected, take a look at your tech stack. Does anything else you’re using have a Klaviyo integration? If it does, integrate it! The more data Klaviyo has to work with, the better your targeting, personalization, and overall results will be.
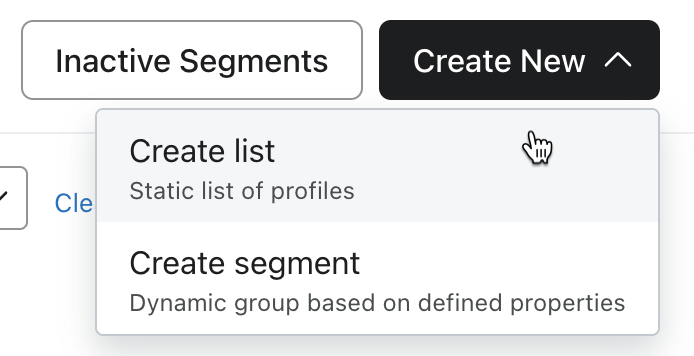
Got an existing list of contacts? Perfect. Go to the “Lists & Segments” section and click “Create List/Segment.” Choose “List” and upload your CSV file. Make sure you’ve got all the essential details dialed in—email addresses, names, and any relevant info should be good to go.
Step 3: Set Up Your First Campaign
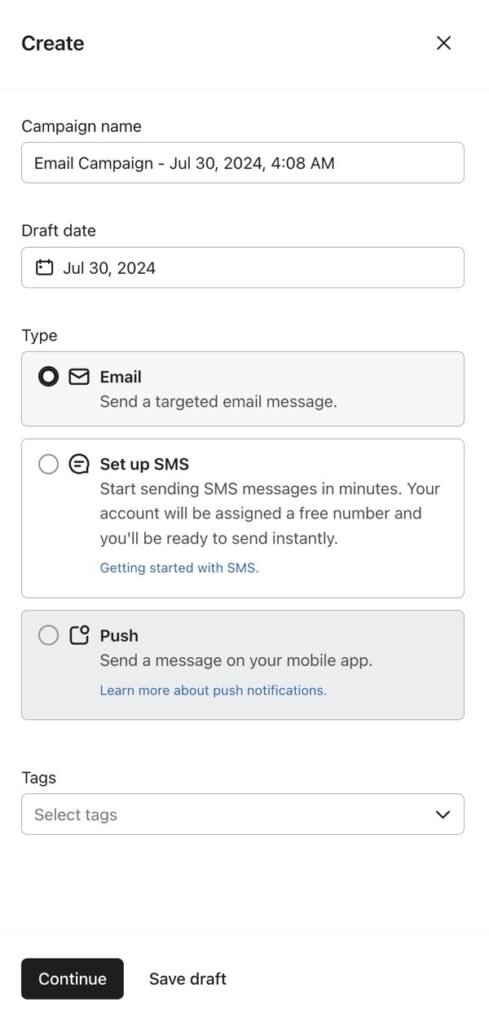
Time to get creative! Head over to the “Campaigns” section and click “Create Campaign.” Choose your campaign type—email or SMS—and pick your audience. Use Klaviyo’s drag-and-drop builder to design a stunning email, then schedule your send.
For immediate success in your new email platform, we recommend starting with small campaigns to those customers that historically engage with your emails or your brand recently. For example, those who opened an email or purchased in the last 30 days. The goal is to start with campaigns that will yield the highest opens and clicks, which is typically done by those with your brand top-of-mind. Once you have a few campaigns out the door, widen the audience to the last 60 days, 90 days, and so on.
Step 4: Build Your First Flow
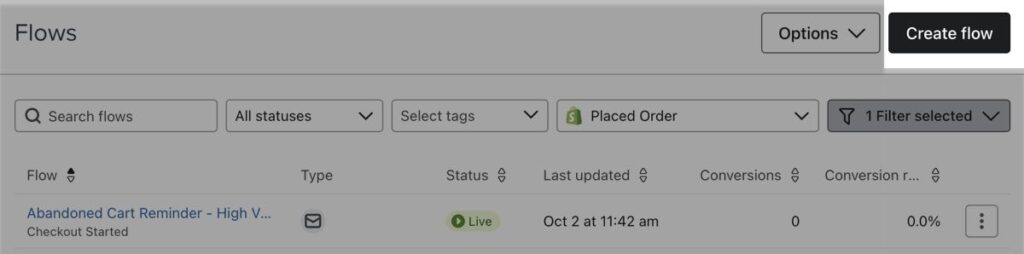
Flows are where the magic happens. These automated sequences help you send targeted emails based on customer behavior. In the “Flows” section, click “Create Flow.” Choose a template or start from scratch. Add triggers, actions, and conditions, and you’ve got yourself a marketing machine that works while you sleep.
Start with these three essential flows:
- Abandoned Cart: Recover lost sales by reminding customers to complete their purchase with dynamic cart details.
- Birthday: Celebrate customers’ birthdays with personalized offers. Use existing data if you’re not collecting birthdates.
- Reactivation: Re-engage inactive customers with exclusive deals or updates to spark renewed interest.
Setting up these flows ensures your email marketing delivers maximum impact effortlessly.
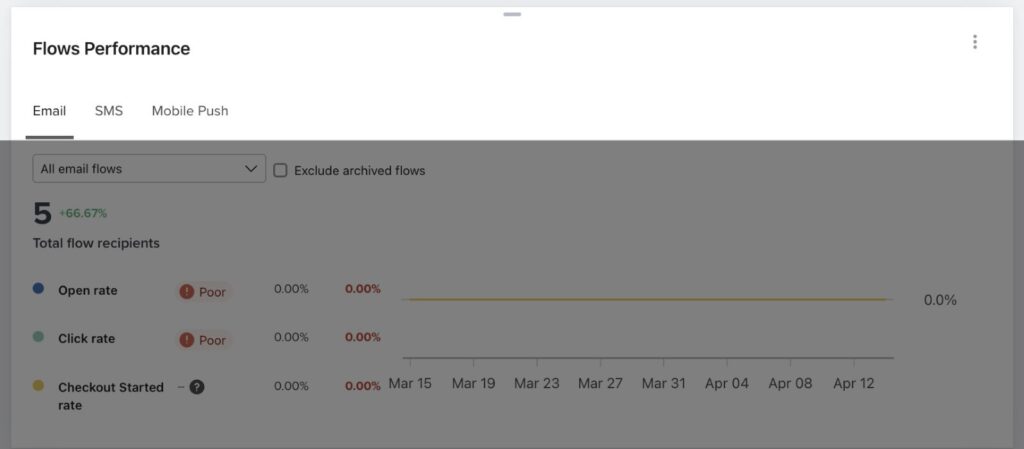
Step 5: Analyze Your Results
Data is your new best friend. Head over to the “Analytics” section to dive into detailed reports on open rates, click rates, and revenue. Use these insights to tweak and optimize your future campaigns.
Conclusion
With Klaviyo at your fingertips, you’re ready to elevate your email marketing strategy to the next level. Follow these steps and watch your business soar. Engage smarter, not harder.


")